Pantavisor 019 Features: Status Goal

Pantavisor Container Status

In this post, we are going to talk about how to make use of our status goal feature included in the Pantavisor 019 release.

To understand the concept behind status goal we have to first understand how container status works in Pantavisor.

After a Pantavisor-enabled board is booted up or updated, Pantavisor will try to start all containers from the revision. This process will not be immediate, and the container will have to traverse different stages, called status. These are the status a container can be at:

  • INSTALLED: the container is installed and ready to go.
  • MOUNTED: the container volumes are mounted, but not yet started.
  • BLOCKED: any of the status goals from a container belonging to the previous group are not yet achieved. The concept of container groups will be explained on a different post, so it is only necessary to know that this status exists.
  • STARTING: container is starting.
  • STARTED: container PID is running.
  • READY: Pantavisor has received a signal from the container.
  • STOPPING: container is stopping because of an update transition.
  • STOPPED: container has stopped.

Having this in mind, the status goal is the final status a container must reach. A configurable timeout will make updates fail if this objective is not achieved within the defined time. Currently, there are three configurable goals:

  • MOUNTED: for containers whose volumes we want to be mounted but not started.
  • STARTED: rest of containers that we want mounted and started, but we only check if its PID is running.
  • READY: same as STARTED, but a READY signal coming from the container namespace is required.

Setting the Status Goal of a Container

For this example, we are going to try to add a nginx container to an existing Pantavisor-enabled device claimed from my Pantacor Hub account:

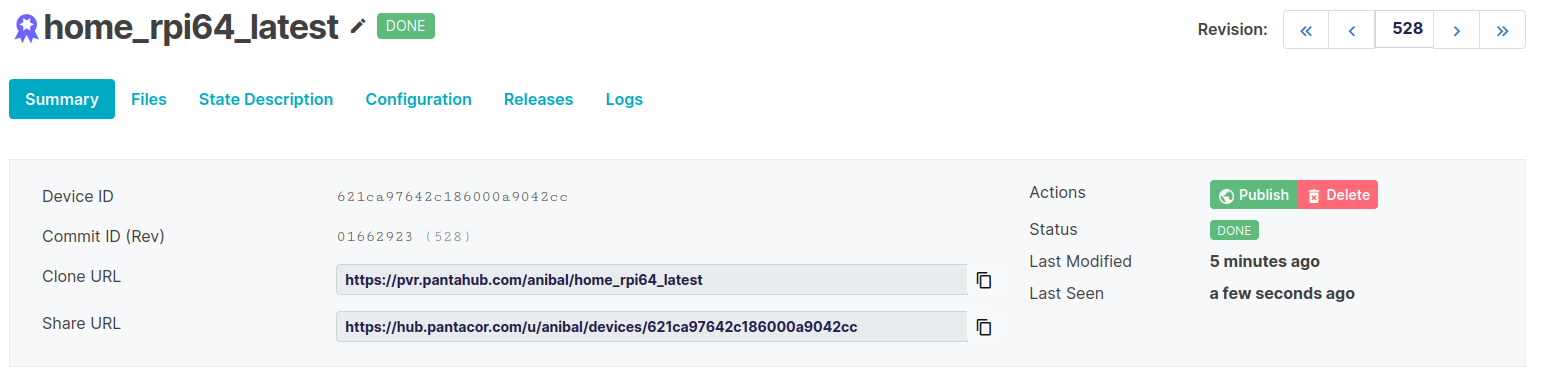
First step will be to clone our device as usual, in this case, a Raspberry Pi 4 board with the Pantavisor 019 image installed:

pvr clone https://pvr.pantahub.com/anibal/home_rpi64_latest
cd home_rpi64_latest

To add the container with a READY status goal, we cat explicitly set it in the pvr app add command:

pvr app add --from nginx --status-goal READY webserver
pvr add .
pvr commit
pvr post -m "add new webserver container with READY status goal"

Let us think what we have done for a bit. We have posted a new revision with an nginx container from Docker Hub. Where the developers of this container considerate enough to send a READY signal to Pantavisor? Probably not. That is why we are going to get an ERROR with this update:

As Pantavisor is expecting a READY status goal from the container, the new revision will fail after a configurable timeout. Now, we are going to try to install another container. This time, a Container Ready Demo one that we are sure will send the READY signal:

rm -r webserver
pvr app add --from registry.gitlab.com/pantacor/pv-platforms/container-ready-demo:arm64v8-main --status-goal READY container-ready-demo
pvr add .
pvr commit
pvr post -m "add new container-ready-demo container with READY status goal"

This works! But how does the container send the READY signal to Pantavisor?

Sending a Signal from a Container

As we have seen in the previous post, a READY signal can be sent from a container to Pantavisor so the container status can progress to READY. Our Ready Demo is a mock-up container that always sends this signal after being started, but in a real example, the container might perform some internal testing, validation, etc. and then send the READY signal.

To send signals, pvcontrol can be used:

pvcontrol signal ready

Modifying the Status Goal of a Container

Let us get back to our previous example and go to the cloned checkout of our device:

cd home_rpi64_latest
ls

In there, we will find the container container-ready-demo that we just installed with pvr. Inside the container-ready-demo container, we will find the src.json and the run.json files. The first one will be used by pvr, while the second one will be parsed by Pantavisor itself. Let us first take a look at the configured status goal in the run.json first:

$ jq .status_goal container-ready-demo/run.json 
"READY"

As we can see, pvr app add has set that status_goal from the one we last set with the --status-goal option. If we want to change that without having to reinstall the container, we have to do it in the src.json, as run.json is not meant to be directly edited:

$ jq .args.PV_STATUS_GOAL container-ready-demo/src.json 
"READY"

And manually edit it to look like this:

$ jq .args.PV_STATUS_GOAL container-ready-demo/src.json 
"STARTED"

Now, if we use the pvr app install command:

pvr app install container-ready-demo

The pvr tool will take the value from the src.json file and apply it at the run.json:

$ jq .status_goal container-ready-demo/run.json 
"STARTED"

Now, again, you can commit and post the changes to start using them in your device:

pvr add .
pvr commit
pvr post -m "change container-ready-demo status goal to STARTED"